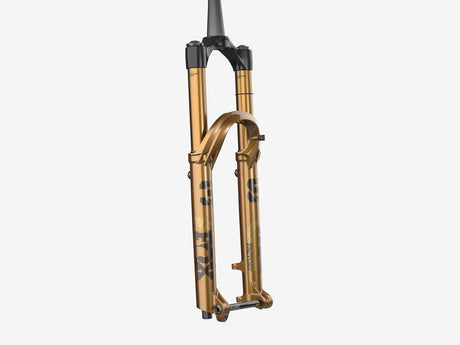
Intro
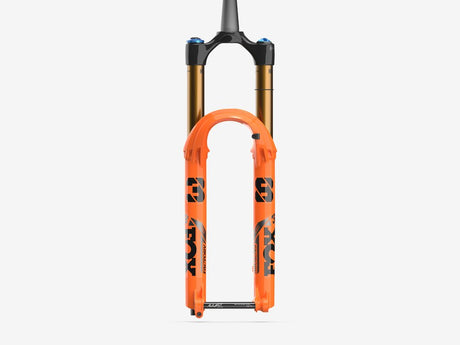
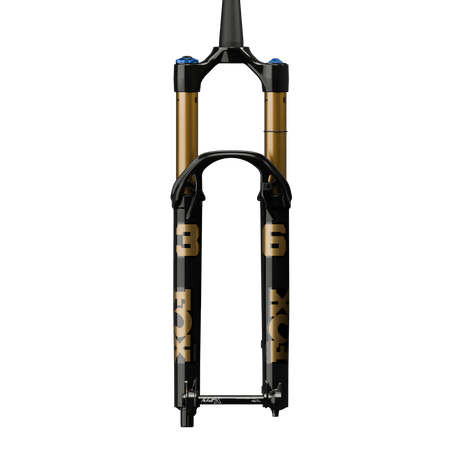
The Fox 36 and 38 are two of the most popular enduro forks on the market and most of them ship with the quick release (QR) thru axle. Some riders are opting to change this quick release style axle out for the Kabolt thru axle, which is Fox’s bolt on thru axle offering. The Kabolt axle provides a slimmer profile, and slightly lighter weight, but otherwise performs exactly the same as the QR axle.
Today we’ll be explaining how to install the Kabolt X axle since there are a couple more steps when compared to the traditional QR axle.
The KaboltX axle will only fit 2021 and newer Fox 36 and 38 forks.
Fox QR vs KaboltX
First, let’s look at the different parts of the two systems.
The QR axle has a centering sleeve sitting inside of the pinch bolt assembly. The Kabolt axle does not have this part because the centering sleeve is built into the axle itself. They also have different washers in the pinch bolt assembly. This is because the washer in the QR assembly holds the centering sleeve in place, while that isn’t necessary for the Kabolt assembly.
Parts for the QR and KaboltX axle
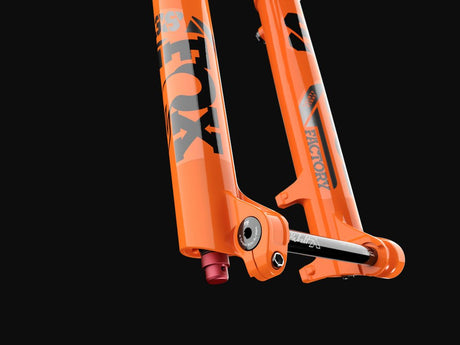
Remove the QR Axle
Before you are able to install the Kabolt X axle, we need to remove the QR. First step remove the QR axle and slide the wheel out of the dropouts. Next, undo your pinch bolt entirely in order to remove the washer. Make sure to keep track of the pinch bolt and nut, you’ll need them to install the kabolt axle. Once the washer is removed, the centering sleeve will slide right out and we’re ready to start installing the kabolt axle.
Fox KaboltX Install Instructions
- First, reinstall the pinch bolt with the new circular washer without the wedge sticking out of it. There shouldn’t be anything sticking out into the axle channel from your pinch bolt assembly.
The new circular washer going in
- Leave the pinch bolt loose while you install the front wheel.
- Tighten your Kabolt axle to the torque settings etched on the head of the Kabolt. In this case, 9 newton meters.
Torquing the KaboltX axle to the labled spec of 9 Nm
- Now, get your bike out of the stand and compress the fork a few times to ensure that the lower leg has settled into its low friction point. The idea behind floating axles is that the lower legs remain completely parallel rather than being pinched together by the axle and binding against the stanchions.
- The last step is tightening your pinch bolt to 5.1 newton meters, and now you’re ready to hit the trails!
Please note that every time you remove and reinstall the kabolt axle you have to go through the steps of cycling the fork before torquing down the pinch bolt.