Over the next couple of weeks, we will be releasing parts to a comprehensive guide on how to set up your mountain bike suspension. Each section will be an depth breakdown laid out in an easy-to-read format so whether you have no idea what HSC or preload are, or you know exactly what PSI you run in the Summer at a bike park, you are sure to learn something. The sections will include; Adjustments, Finding A Base Setting, Adjusting Damping, and General Set Up Tips.
Let's dive in!
In How To Set Up MTB Suspension Part 1 last week, we talked about the adjustments available to you. If you haven't read that, consider starting there.
Intro
A journey of a thousand miles begins with a single step. Today that journey is dialing in your suspension and the first step is finding a base setting - sag.
A common concern when it comes to setting up suspension is making things worse than when you started, and a base setting makes that really hard to do! This base setting is going to be your home base to help you understand what the heck all these adjustments even do, and how best to tame them.
There are plenty of variables when it comes to riding your bike, and the main idea with this is to eliminate what we can to help isolate all the changes we’re going to be making in the next steps. Without a constant to compare your changes to, you’re just spinning dials in a void, without any reference points to measure against.
Sag
Before you even touch your bike, let’s make sure that you’re at your riding weight. This means wearing all of your riding gear so that you’re the same weight as when you’re actually riding your bike. So if you ride with a big heavy backpack full of snacks, water, rocks, a spare bike, or whatever else you’re hauling around in the woods, go ahead and throw that on to make sure we’re getting a real measurement.
Every pound matters, so suit up!
Fork
Setting the sag on your fork is a tricky thing. Lots of people say you’re supposed to get into a position that you’ll be in while you’re riding and then push your o-ring down to the seals without moving, but in reality, it’s very hard to do consistently. You’re always going to be in a slightly different position when you get in the position you think you ride in, so it’s pretty ridiculous to expect to make any effective minute adjustments.
Air Fork
The good news is that your manufacturer’s recommended settings are pretty bang on, and usually not going to be more than about 5 PSI off from where you should be. For example, on the Fox 38, I landed at 5 PSI over my recommended pressure, and on the RockShox Zeb, I’ve been at 2 PSI over the recommendation. On most modern forks, your suggested PSI is going to be printed right on the lower leg, but if not, check out the manufacturer’s website for all the details.
Coil Fork
If you’ve got a coil fork, like the Marzocchi Z1 Coil, or an air fork with an aftermarket coil spring, then the only way to adjust your sag is going to be through preload or completely changing your coil. Your preload’s range of adjustment is pretty minimal, and the only way to make large changes in sag is by switching out the coil spring. Once again, we’re leaning on the manufacturer’s recommendation, so check out their website so that you’re throwing the right weight spring in there!
Marzocchi's coil spring rate chart
Shock
On your shock however, sag is definitely something we’re going to measure, so get the yardstick out.
Instead of getting into that riding position, give your suspension a couple good bounces and sit on your saddle comfortably. Now reach down and push the o-ring on your shock stanchion up against the seals. Then gently step off your bike without compressing your shock any more than it already is. This can be a little tough, so doing it a couple times to make sure you get an accurate measurement is a good move. If you’ve got a friend around, it can be way easier to have them measure your sag with you sitting on the bike, just to remove all the variables.
Measure the distance the o-ring has moved, and divide that by your overall stroke length. Multiply that number by 100 and that is your sag percentage! Most manufacturers will have a recommended sag range, so that’s where we recommend you start, but if you can’t find that for some reason, somewhere between the high 20’s and low 30’s is a good starting point.
Air Shocks
If you’re running an air shock, changing your sag is as simple as changing your pressure with a shock pump. Something to note about using a shock pump, is that when you disconnect the hose from the shock, you’ll hear a little ‘pssst’ of air come out. I know it seems like you just lost some of that precious air you just worked hard to put in there, but don’t worry, that’s just the leftover air that was in the hose. And if you immediately check your pressure again, you’ll notice that it’s a few PSI lower than you left it a second ago. That’s from the air rushing into the shock pump, which increases the volume that the air takes up, so the air is slightly less pressurized than before you reattached the pump. All you need to know is that whatever pressure your gauge reads when you unscrew your shock pump is how much PSI your shock has.
Also, something to note is when adjusting the pressure in your air fork or shock, make sure to cycle it a few times just to equalize the pressure in the positive and negative chambers just by giving it a couple quick squishes. This is especially true with big changes in PSI, but it’s worth doing every time you adjust your pressures. If you don’t you’ll be running less pressure than your shock pump reads, and you can even watch this happen if you inflate your shock and then give it a gentle bounce with your pump still attached.
Coil Shocks
For those of you on a coil shock, the process of setting sag is going to be a bit more involved.
Coil shocks are inherently more difficult to adjust sag on because to change your spring rate, you need a whole new coil. Your preload is going to allow you to adjust your sag a bit, but not nearly as much as an air shock. To really change your sag, you need to swap out your coil spring. Getting the correct weight coil depends on three factors, your riding weight, bike’s travel, and shock stroke length. There are a bunch of spring rate calculators out there, and, we may be biased, but our favorite is our own spring calculator. If the calculator tells you to run a 500 lbs spring, then congratulations, it’s time to buy a 500 lb spring! But the problem with coil springs is that they only come in so many increments, and the calculator might tell you to run a 530 lb spring but your closest options are 500 and 550. So now what?
The good news is that coil springs aren’t that expensive, so start with buying the closest weight spring to what’s recommended. If your sag is within that suggested range, then you’re good to go! If you’re just below or above the range, then moving up or down in spring weight is the right move. When you’re still figuring out which spring is right for you, just stick with the inexpensive steel coils instead of investing in one of the fancy light ones.
Another option is Sprindex. The Sprindex coil allows you to completely avoid compromising, and you can get much more precise with your spring rate. Sprindex coils offer a range of spring rates with just one coil, and allows you to get far more specific with your sag point.
This is what I run on my personal bike and is the only way I’ve been able to run a 485 lb spring to get that perfect sag point without running a bunch of preload on too soft of a coil.
Volume Spacers
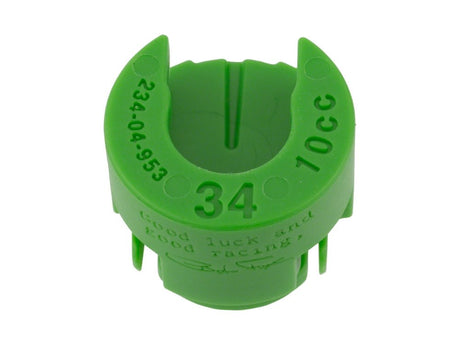
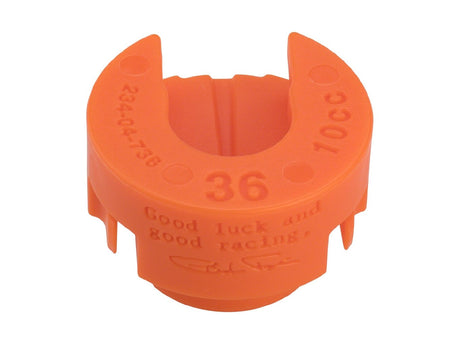
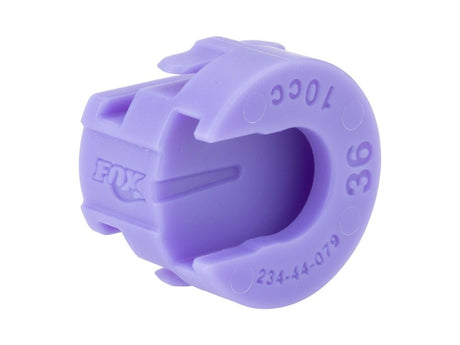
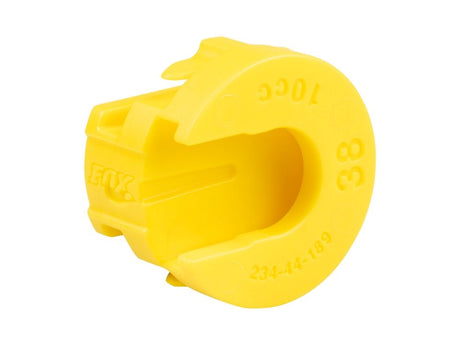
To start with, I would recommend keeping the volume spacers that came installed in your suspension, and make a note of how many there are. Volume spacers are something we’ll add or remove later in the tuning process to adjust how easily we use all of the travel.
Damping
Pretty much all suspension manufacturers like Fox and RockShox have been supplying recommended damper settings based on your air pressure or coil weight, and that’s exactly where we recommend starting! If you’re not able to find any documentation on recommended settings, then go ahead and put everything right in the middle and we’ll start from there. It’s not terribly important where we start, but it is important to know how many clicks of rebound and compression you’re running.
Final Notes
Once you’ve found your base settings, it’s worth writing everything down in either your notes app or maybe a little notebook. If you don’t already have a suspension journal, I highly recommend starting one now! It’s super common for dedicated suspension tinkerers to have a notebook with all their suspension secrets tucked away for when they need to make their next adjustment.
My favorite part about having a base setting is knowing that I can mess around with all of my settings and have a safe place to come back to if I don’t like it. Oftentimes, it’s intimidating to start spinning dials because of that nagging fear of making things worse, but remember that nothing is permanent. If you aren’t happy with the changes you’ve made, just come back home to your base settings and it’s like nothing ever happened.
Next week, we will be talking about how to adjust your damping circuit!

